Welcome to NavNab Blog
Navigating systems. Nabbing what works.
I map the mess, find what works, and share the patterns worth keeping. If you think in systems and build with intent, you’ll feel right at home.
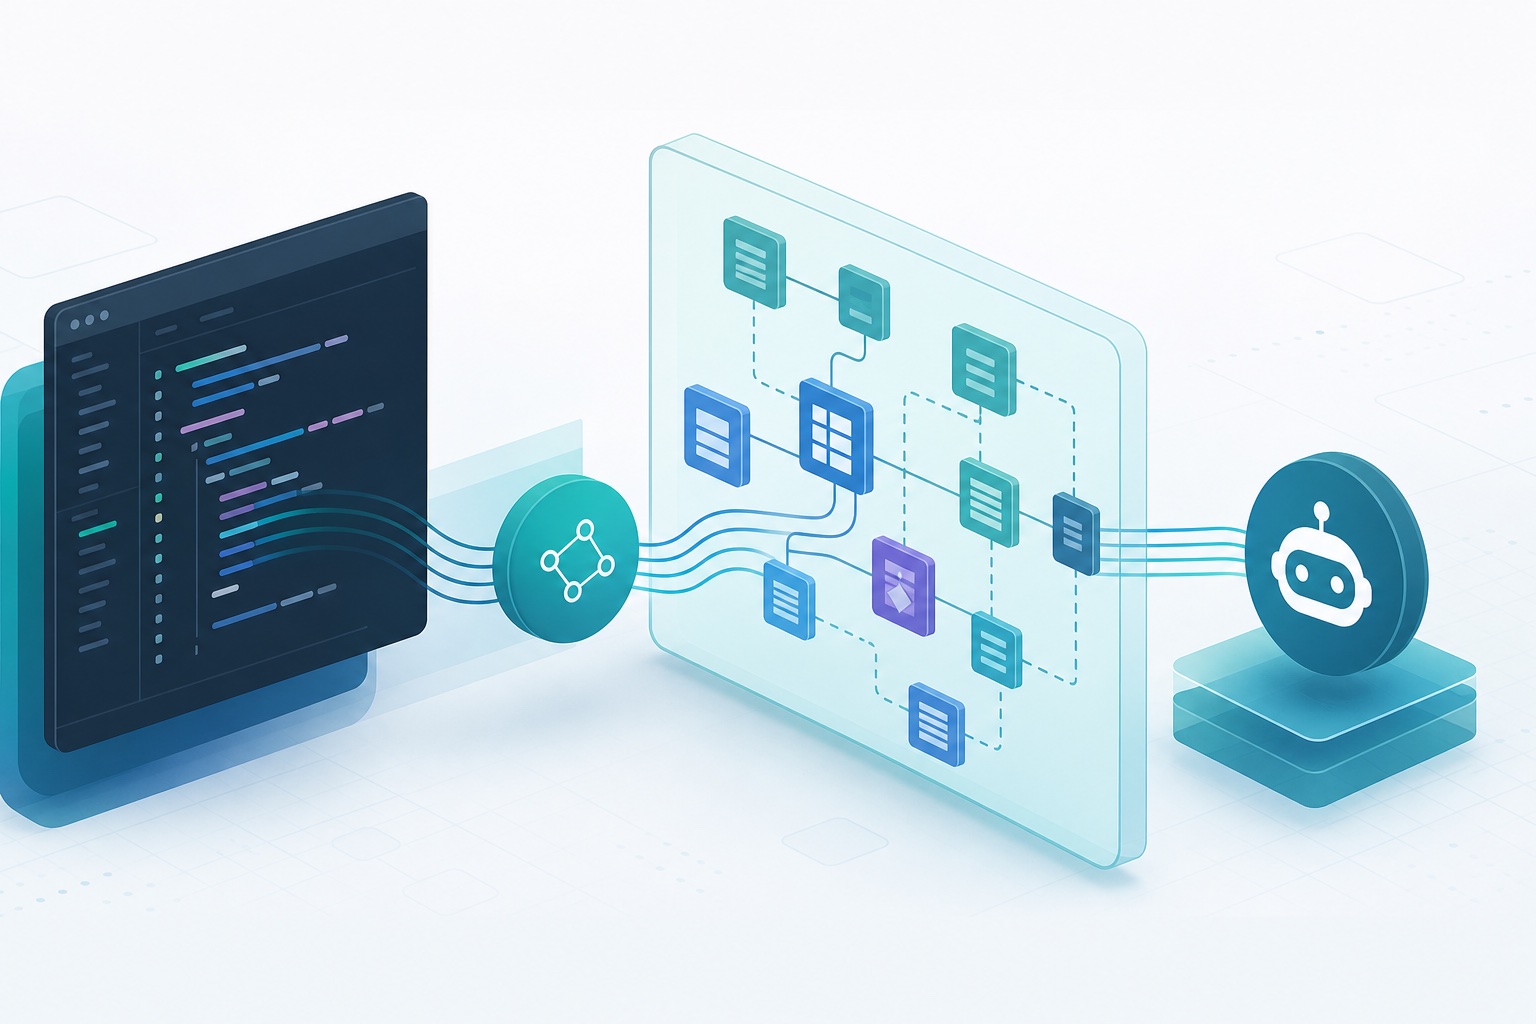
The AL LSP Server: Giving AI Agents a Semantic Model of AL Code
ALTool can now launch a full Language Server Protocol server for AL over stdio. It gives an agent go-to-definition, find-references and rename across projects, instead of grep. Here's what the documentation actually specifies, including the configuration layering that decides which settings win.
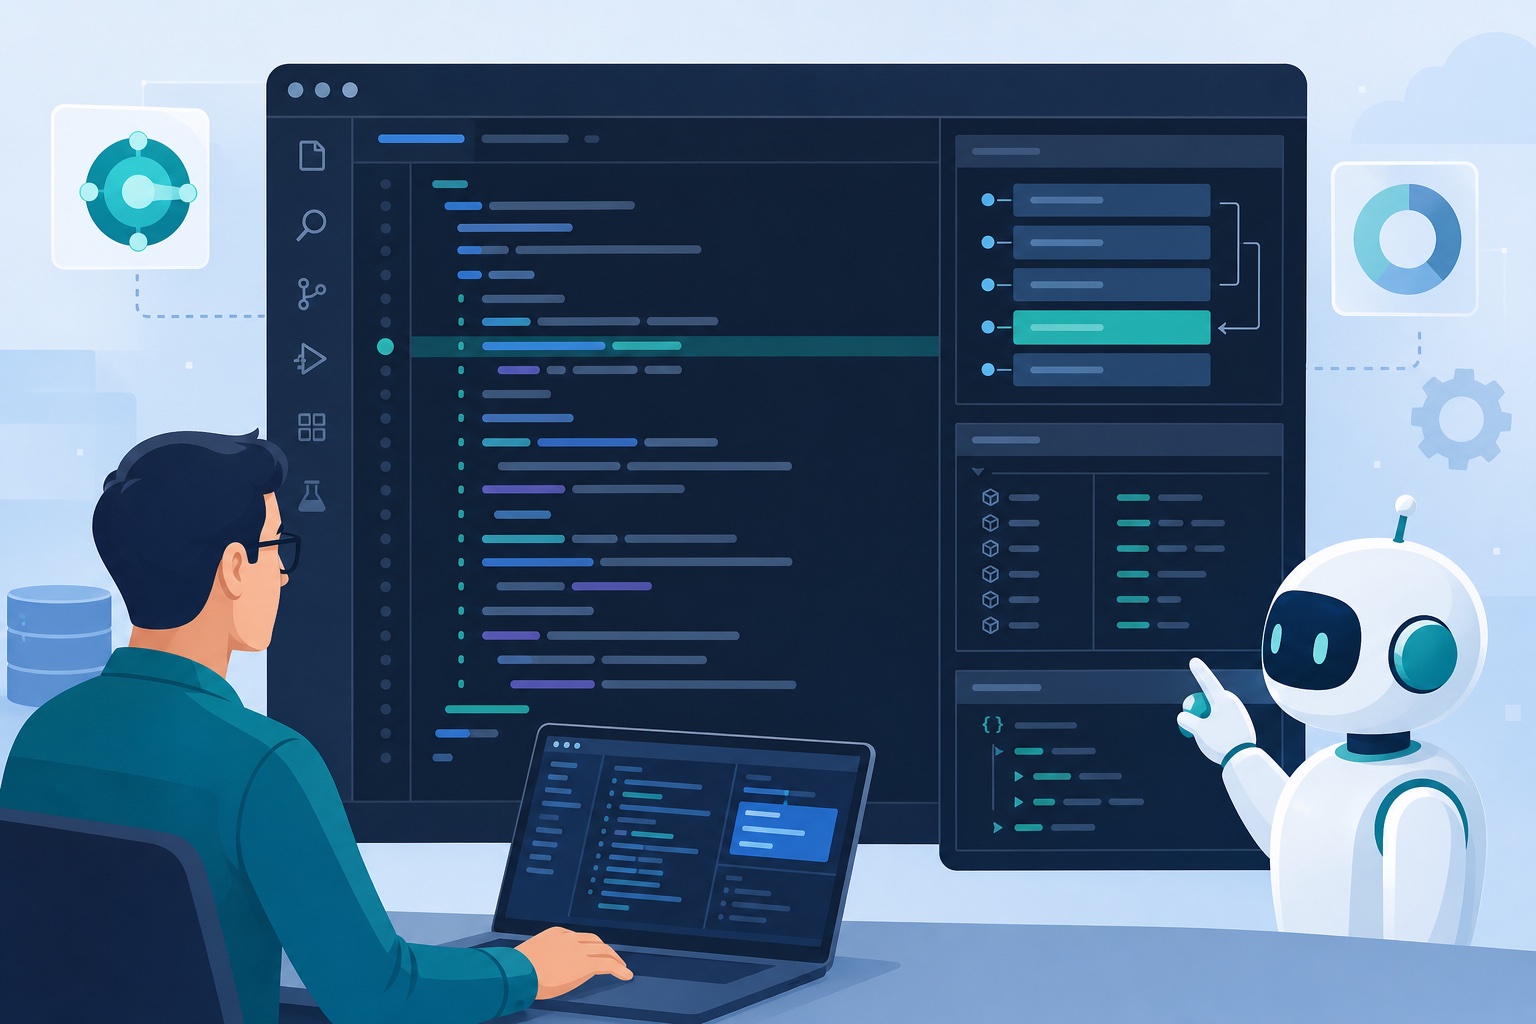
Business Central's Troubleshooting MCP Server: AI-Assisted AL Debugging, Explained
Business Central 2026 wave 1 shipped a Troubleshooting MCP Server that lets GitHub Copilot query live call stacks and variables during an AL debug session. Here's what it actually does, and where the documentation says it stops.
The Director vs Doer Framework: Why AI Makes Leadership Skills Mandatory
Every developer now needs to think like a CTO. AI doesn't just change the tools; it changes whether you're directing the work or just doing the work.

Breakthrough: Pfizer Found the Cure for Cancer. Here's How They Did It.
Would you reject life-saving results if AI helped create them? From Moderna’s 2-day vaccine design to Netflix’s $900M Squid Game success, this post explores why leaders should value outcomes over process — and stop hiding AI adoption in business.
I Don't Chase AI Tools - I Build With Them
Everyone's chasing tools. I stopped. Here's how I turned AI into a system that actually works.